Last updated November 17, 2026
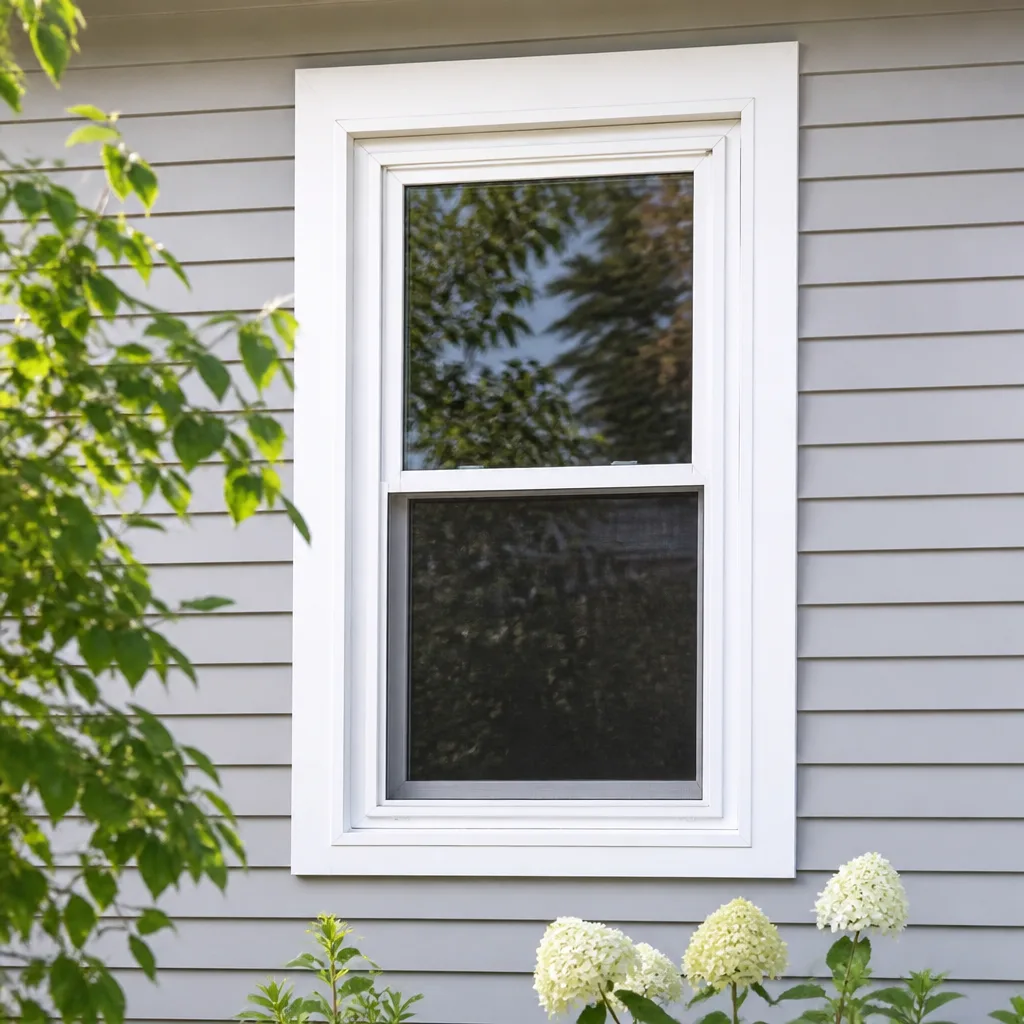 Single hung
 Double hung
 Horizontal roller
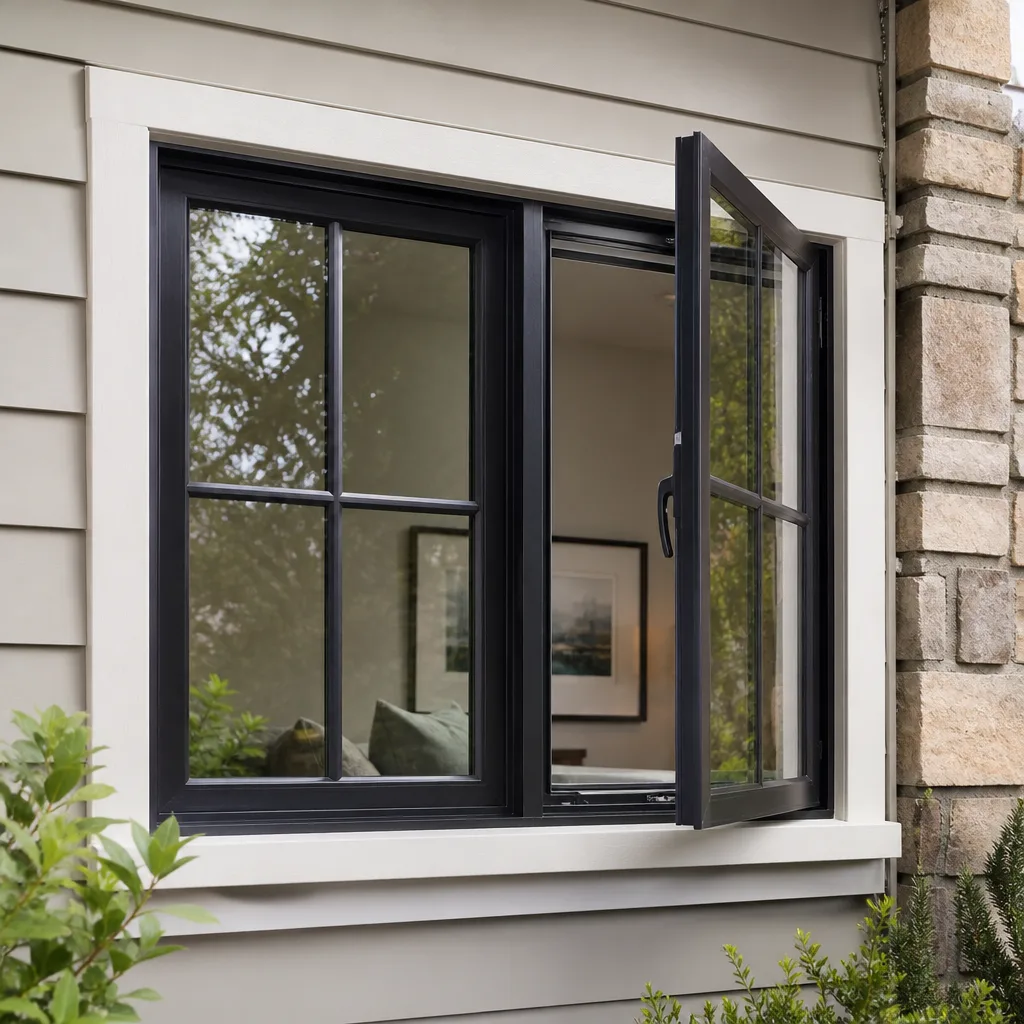 Casement
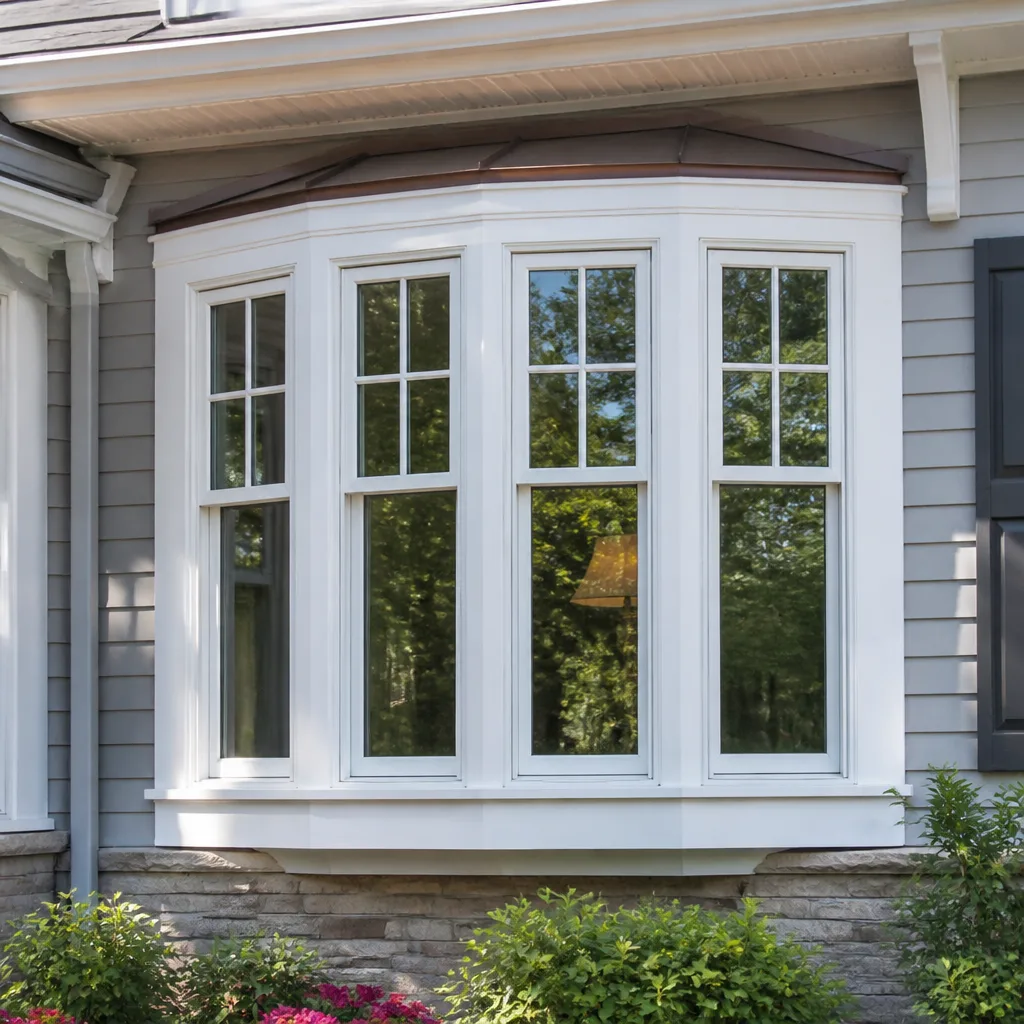 Bay & bow
 Sliding glass doors
 Entry doors
 Impact garage doors
 PGT
 CGI
Free in-home measure and quote - PGT, CGI and CWS impact lines compared on your actual openings, style by style
Get your free estimateWindow Replacement Maintenance Checklist for Winchester Homeowners
The number-one reason Winchester homeowners replace windows earlier than expected isn’t glass failure. It’s seal and hardware deterioration that was visible 18 months before the unit actually failed. Around here, windows work harder than most maintenance advice assumes: sustained heat loads, intense UV, blowing dust, and a monsoon season that tests every seal and every bead of caulk. A checklist written for mild climates misses all of it. So this one is built backwards from the most common replacement triggers we see in Winchester, Nevada, so you can catch problems while they’re still cheap to fix. You’ll learn what to inspect, when, how to test it, and what to document before you ever call a contractor.
Quick Answer
The core of a Winchester window maintenance checklist is a twice-yearly inspection: check the insulated glass unit for fogging between the panes, test every lock, crank and sliding track, probe the weatherstripping for flexibility, and inspect caulk and flashing lines before and after monsoon season. Anything you find that’s fogged inside the glass or leaking at the frame needs a professional assessment, because those are the two failures homeowners can’t fix with a tube of caulk.
Styles & brands we work with
- Single hung
- Double hung
- Horizontal roller
- Casement
- Bay & bow
- Sliding glass doors
- Entry doors
- Impact garage doors
- PGT
- CGI
Table of Contents
- Why Winchester Windows Age Differently
- Checking the Insulated Glass Unit: Fog vs. Normal Condensation
- Hardware Inspection Sequence for Casement, Double-Hung and Sliding Windows
- Weatherstripping Degradation Under Nevada UV
- Caulk and Flashing Inspection Around Monsoon Season
- Your Seasonal Inspection Calendar
- What to Document Before Calling a Contractor
- Repair or Replace? How to Decide
Why Winchester Windows Age Differently
Most window maintenance advice assumes four mild seasons and moderate sun. Winchester gets the opposite: long stretches of sustained heat, high-altitude UV intensity that breaks down rubber and plastic years ahead of schedule, and fine desert dust that finds its way into every track and roller. Then monsoon season arrives and drops concentrated rain against frames that have spent months drying out and shrinking. That cycle repeats every year.
What that means practically is that different parts of a window fail at different speeds. The glass itself is rarely the weak point. The parts that move, seal and flex are.
- Seals inside the glass unit take the heat load and eventually let moisture in, which shows as fogging you can’t wipe away.
- Weatherstripping and gaskets dry out and stiffen under UV, losing their spring before they visibly crack.
- Caulk joints expand and contract with temperature swings and pull away from stucco and trim at predictable points.
- Hardware collects dust in tracks and pivot points, and thermal expansion loosens fasteners over time.
None of this is dramatic. That’s the problem. A window that’s quietly losing its seal doesn’t announce itself. It fogs a little in the morning and clears by noon, and most homeowners assume that’s normal. Knowing what normal actually looks like is the whole game.
If your home has older units that are already past the point of maintenance, the decision shifts from checking to window replacement, which we cover further down in this guide.
Checking the Insulated Glass Unit: Fog vs. Normal Condensation
The insulated glass unit, or IGU, is the sealed sandwich of two panes with a gas or air gap between them. That gap is supposed to stay permanently sealed. When it doesn’t, you get one specific symptom that separates a failing seal from ordinary desert condensation.
The test: look at the glass on a cool morning, before the sun hits it, and again in the afternoon after the house has been closed up with the AC running.
- Condensation on the room-side surface is normal in a desert home, especially in winter mornings or when indoor humidity spikes. It wipes off. It’s a sign your interior humidity is high, not a sign the window failed.
- Fog, haze, or a milky film between the panes is seal failure. You can’t reach it, it doesn’t wipe off, and it usually gets worse over months, not days. That’s the one to flag.
- Water droplets or streaks inside the gap mean the seal has been gone for a while. The desiccant in the spacer is saturated and the unit has no insulating value left.
- A wavy or “oily” distortion at certain angles can be the first visible clue before fogging, caused by the gas escaping the gap.
Fogging between panes doesn’t fix itself. A failed IGU loses most of its thermal performance, which shows up on your cooling bill during Winchester’s hottest months. In our experience, homeowners who catch it early can often replace the glass unit alone, while homeowners who wait usually end up replacing the whole window because the frame has been stressed by the same heat cycling.
Impact-rated products from PGT and CGI are built with tested glazing systems that hold up better under thermal cycling, which is one reason we install those lines in Winchester homes that see full afternoon sun on a west-facing wall.
Hardware Inspection Sequence for Casement, Double-Hung and Sliding Windows
Hardware fails in a slightly different order depending on the operator type, so check them differently. Dust and thermal expansion are the two forces at work in every case, but they hit a crank window, a double-hung, and a slider in different places.
Casement and Awning Windows
- Open the window fully and turn the crank. It should move smoothly with light resistance. Grinding or a hard spot means the operator gear is wearing.
- Look at the hinge arms at the top and bottom of the sash. Check for play, bent arms, or screws backing out of the frame.
- Close the window and confirm the sash pulls evenly against the frame all the way around. Uneven sealing means the operator is out of alignment, and that’s when water gets in.
- Check the lock and the sash keeper. The lock should engage with light pressure, not a hard push.
Double-Hung Windows
- Raise and lower the sash. It should stay where you put it. A sash that slides down on its own means the balance or the spiral spring has lost tension.
- Check for a tilt that scrapes one side of the jamb. That’s a sign of balance failure, not just friction.
- Inspect the lock and the tilt latches at the top of each sash. These take the most abuse and are the most common thing to break.
- Run a finger along the sill where the lower sash meets the frame. If you feel grit, the weatherstripping is holding dust, which is what eventually wears the seal out.
Sliding Windows
- Lift the sliding sash slightly at the leading edge. There should be a small amount of play. None means the roller is seized; too much means the roller is worn flat.
- Roll the window open and closed and listen. A rumble or a skip means grit in the track or a failing roller.
- Check the track itself for built-up dust and fine sand. Desert dust is abrasive, and tracks that aren’t cleaned wear rollers out fast.
- Test the latch and the anti-lift blocks at the top of the frame.
Run this sequence twice a year. It takes under an hour for a whole house and it catches the majority of hardware failures while the part is still inexpensive to replace.
Weatherstripping Degradation Under Nevada UV
Weatherstripping is the thin seal that closes the gap between the sash and the frame. It’s the least visible part of the window and the one that goes first in a high-UV climate. The failure timeline runs roughly like this: in the first few years it stays supple; by the middle of its service life it starts feeling firm rather than springy; and by the end it’s brittle enough to crack when you press it.
The catch is that it loses most of its sealing ability before it looks damaged. A stiff strip still looks like a strip. It just isn’t doing anything.
The Dollar Bill Test
Close the window on a dollar bill so half of it hangs inside. Pull gently. If it slides out with no resistance, the weatherstripping isn’t sealing at that spot. Repeat this at four or five points around the window, and along the latch side of a casement sash. This is the most reliable DIY check homeowners can run without any tools, and it tells you what your eyes can’t.
Physical Checks
- Pinch the stripping. It should spring back. If it holds the pinch mark or cracks, it’s done.
- Look for gaps where the stripping meets the corners. Corners are where it pulls away first.
- Check the underside of the sash on windows that face full afternoon sun. That’s the surface that ages fastest.
- Run a hand around the window on a windy day. A noticeable draft at the frame is a stripping failure, not a glass failure.
Replacement weatherstripping is available for most operators, and it’s a genuine repair rather than a replacement decision. When the stripping is fine but the window still leaks air, the issue is more likely frame alignment or a seal that’s failed inside the glass, and that’s worth a professional look.
Caulk and Flashing Inspection Around Monsoon Season
Monsoon season is when water intrusion risk spikes in Winchester. Months of dry heat shrink and crack exterior caulk, then the rain arrives and finds every one of those cracks. This makes the weeks before and after the season the two most important inspection windows of the year.
Before monsoon (early summer): walk the exterior of every window and check the caulk joint.
- Look for cracks, gaps, or caulk that’s pulled away from the stucco or trim. Any joint that’s lost adhesion is a water entry point.
- Press on the caulk with a finger. It should be slightly pliable. If it’s hard, chalking, or crumbling, it’s beyond its service life.
- Check the flashing above each window, where the wall meets the head of the frame. That’s the highest-volume water entry point on a house, and the one most overlooked.
- Look for staining or efflorescence on the exterior wall below the window sill. That’s evidence water has been tracking behind the finish.
- Check the sill joints and the frame corners. These take the most rain.
After monsoon (early fall): repeat the same walk and look for anything that moved, cracked, or shows fresh water staining. Interior water staining around a window frame after rain is the strongest signal of a flashing or caulk issue, and it needs to be addressed before the next season.
Important safety note: exterior caulk and flashing work at height on a ladder, or on a second-story window, is a fall hazard. Do the ground-floor inspection yourself and get a professional on the second story and above.
Interior drywall staining, bubbling paint, or a soft spot in the sill below a window are all signs water has already gotten in. Wind-driven rain during a monsoon can push water past even a good seal at an older window, which is why flashing and drainage matter as much as the caulk itself.
Your Seasonal Inspection Calendar
Winchester’s climate splits the year into two distinct modes, hot and dry, then storm and cool. The maintenance calendar follows that split.
Spring (Before the Heat)
- Clean window tracks and hardware with a soft brush and vacuum, then wipe down the weatherstripping. Grit is what wears rollers and hinges.
- Run the hardware inspection sequence on every operator in the house.
- Inspect and touch up exterior caulk while the weather is mild.
- Confirm every lock and latch engages smoothly. Security hardware gets checked before the season when windows are opened most.
Early Summer (Before Monsoon)
- Full exterior caulk and flashing inspection, especially the head and sill of every window.
- Clean out weep holes in the sill of the frame. Desert dust clogs these and traps water instead of letting it drain.
- Check the IGU seal by looking for fogging on a morning when the glass is coolest.
Early Fall (After Monsoon)
- Repeat the exterior walk. Look for cracks that opened during the season and any new water staining.
- Check interior window frames and sills for staining or soft spots.
- Re-run the dollar bill test as the weather cools. Caulk and weatherstripping both contract in cooler weather, and that’s when failing seals show up first.
Winter (Cool and Dry)
- Look for condensation on the room-side glass in the mornings. Widespread condensation across many windows is a humidity issue in the house, not a window failure, but a single window condensing while its neighbors don’t is worth a closer look.
- Check every window lock and every sliding window latch. This is the season homeowners think about security and the best time to catch a worn lock.
If you want the inspection done for you, window installation teams are the same people who see the failure patterns day in and day out, and they can tell you in a few minutes whether you’re looking at a repair or a replacement.
What to Document Before Calling a Contractor
The difference between a fast estimate and a slow one is almost always the homeowner’s notes. A contractor who arrives knowing what you’ve seen can walk in with the right product options and skip half of the diagnostic conversation. Here’s what to gather before you make the call.
- Photos of the problem, taken from a consistent distance. One wide shot showing the whole window, one close-up of the symptom. For fogged glass, shoot it in the morning before sun hits the window, when the fogging shows most clearly.
- Measurements. Width and height of the glass and of the frame opening. Write down whether the measurement is inside the frame or outside. This determines whether replacement uses the existing frame or a full-unit swap.
- Location notes. Which side of the house the window faces. West- and south-facing windows fail faster in Winchester, and that matters to product selection.
- Performance notes. What you’re experiencing: drafts, a bill that’s climbing, condensation on a single window, a lock that’s hard to turn, a sash that won’t stay up. Write it in plain language, in your own words.
- Window type and operator. Casement, double-hung, slider, fixed pane. Note it for each window you’re asking about.
- Whether it’s one window or a set. A single failing unit on the west side of the house is a different conversation than six windows all fogging at once.
Bring those notes, the photos and the measurements to the estimate. Any contractor will use them, and it protects you because the written estimate will match what was actually inspected rather than what was assumed.
An estimate isn’t a commitment, and it doesn’t cost anything. It’s the fastest way to get an honest read on whether the window needs a repair or is heading for the quote stage.
Repair or Replace? How to Decide
Not every window issue means replacement. Some are genuine repairs. The trick is matching the symptom to the right decision instead of the right sales pitch.
- Fogged glass between panes is a failed seal. The glass unit can be replaced without touching the frame in many cases. If the frame is sound and the window operates well, glass-only replacement is the usual call.
- A worn lock, a stiff crank, or a broken roller is hardware. Hardware is replaceable, and this is the cheapest category of fix.
- Drafty window with good glass is usually weatherstripping or frame alignment. Worth a repair attempt before replacement.
- Multiple failures on the same window, a frame that’s out of square, or a unit that’s lost its thermal performance and its hardware at the same time is heading toward replacement. That’s a valid answer, not an upsell.
- Every window in the house fogging, drafty, or hard to operate points to a whole-house replacement decision, and that’s when product selection starts to matter most.
Because we install across eight manufacturer lines, our recommendation on a replacement is driven by what your home actually needs. If the failing windows face full sun, an impact-rated line like PGT or CGI makes more sense than a standard unit, because the glazing is tested against thermal stress as well as impact. If the priority is curb appeal on the front of the house, a design-forward line like CWS or ViewLux gives more options. Where a window opens onto a patio, a Therma-Tru door replaces the window-and-door ensemble cleanly.
If the right answer is a full replacement, that process starts with a straight assessment, not a push. The right product for your home, not our fastest seller, is the rule we work by.
Common Mistakes to Avoid
- Treating morning window condensation as a seal failure. A room-side fog that wipes off is your indoor humidity talking. A fog between the panes that won’t wipe off is a seal. Both look similar in a photo and they’re completely different problems.
- Caulking a leaking window without finding the flashing issue. New caulk over a failed flashing joint seals the water in, and it leaks again the next time it rains. Fix the flashing, then re-caulk.
- Never cleaning window tracks. Desert dust and sand turn tracks into sandpaper. A one-minute wipe a couple of times a year is the difference between rollers that last and rollers that wear flat.
- Skipping the dollar bill test. Visual inspection misses stiff weatherstripping because it still looks like weatherstripping. The test is the only reliable way to know it’s gone.
- Ignoring small hardware problems until they’re big ones. A stiff lock becomes a broken lock, which becomes a stuck window, which becomes an urgent fix on a hot afternoon. Replace the part early and it stays a small repair.
- Waiting for a fogged window to fix itself. Failed IGU seals don’t re-seal, and the older the frame gets, the more likely the eventual fix is a full window rather than a glass unit.
- Replacing one window in a matching set without checking the rest. Windows from the same batch age on the same climate schedule, and buying one on its own usually costs more per window than handling the set together.
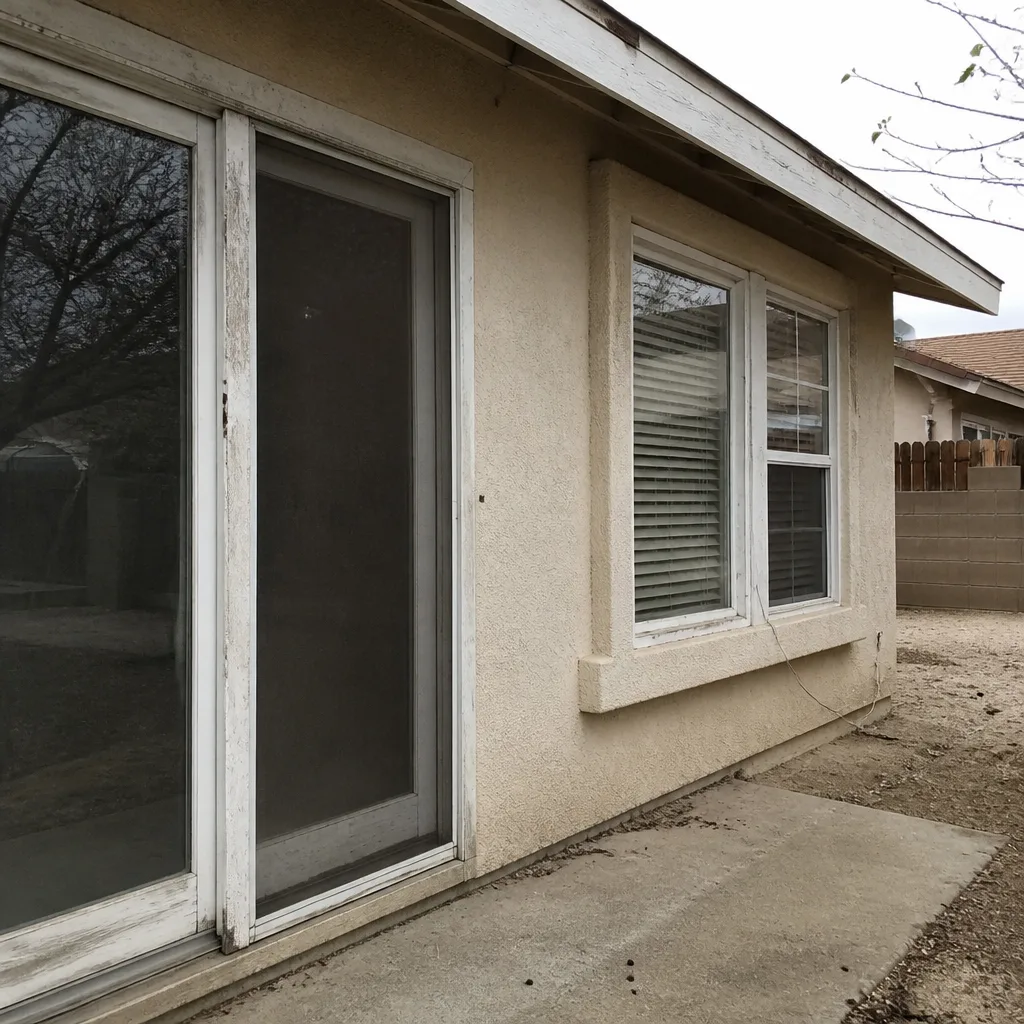
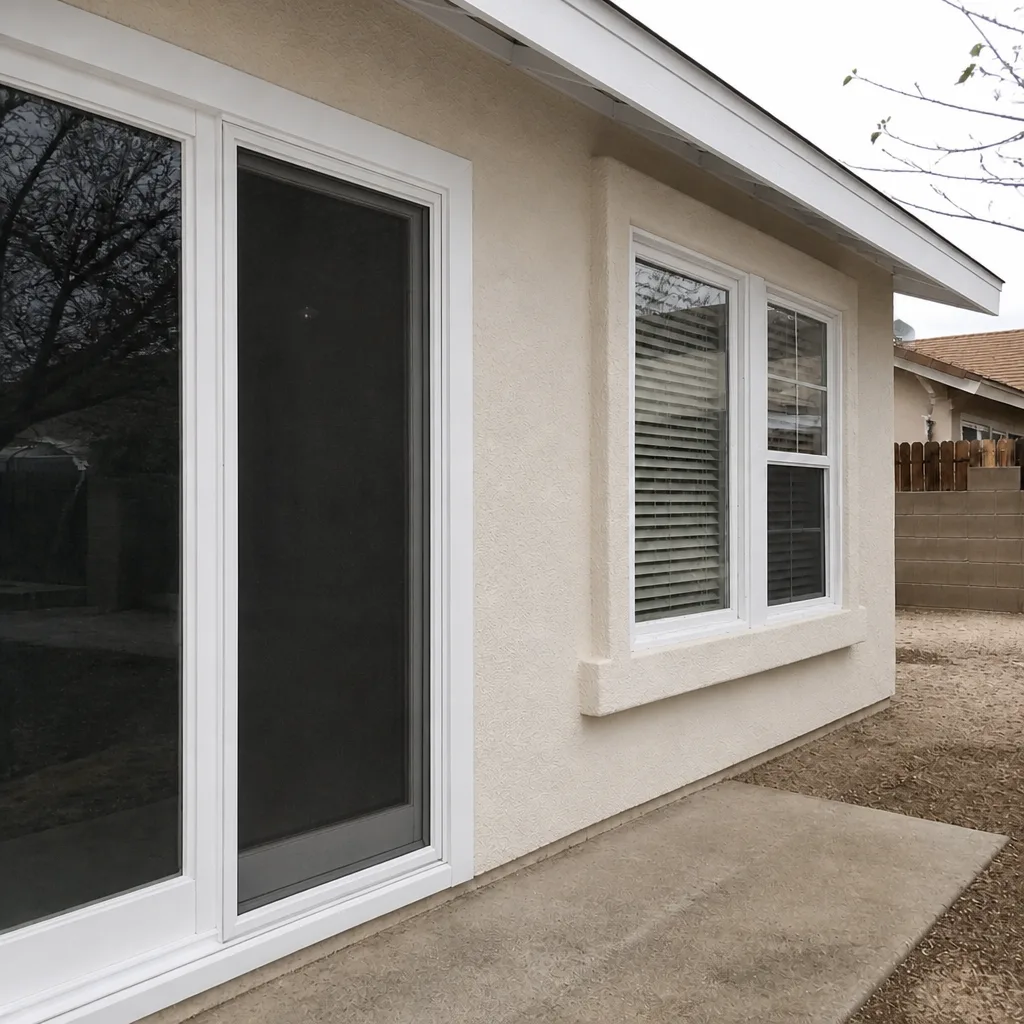
See the difference
 Before
 After
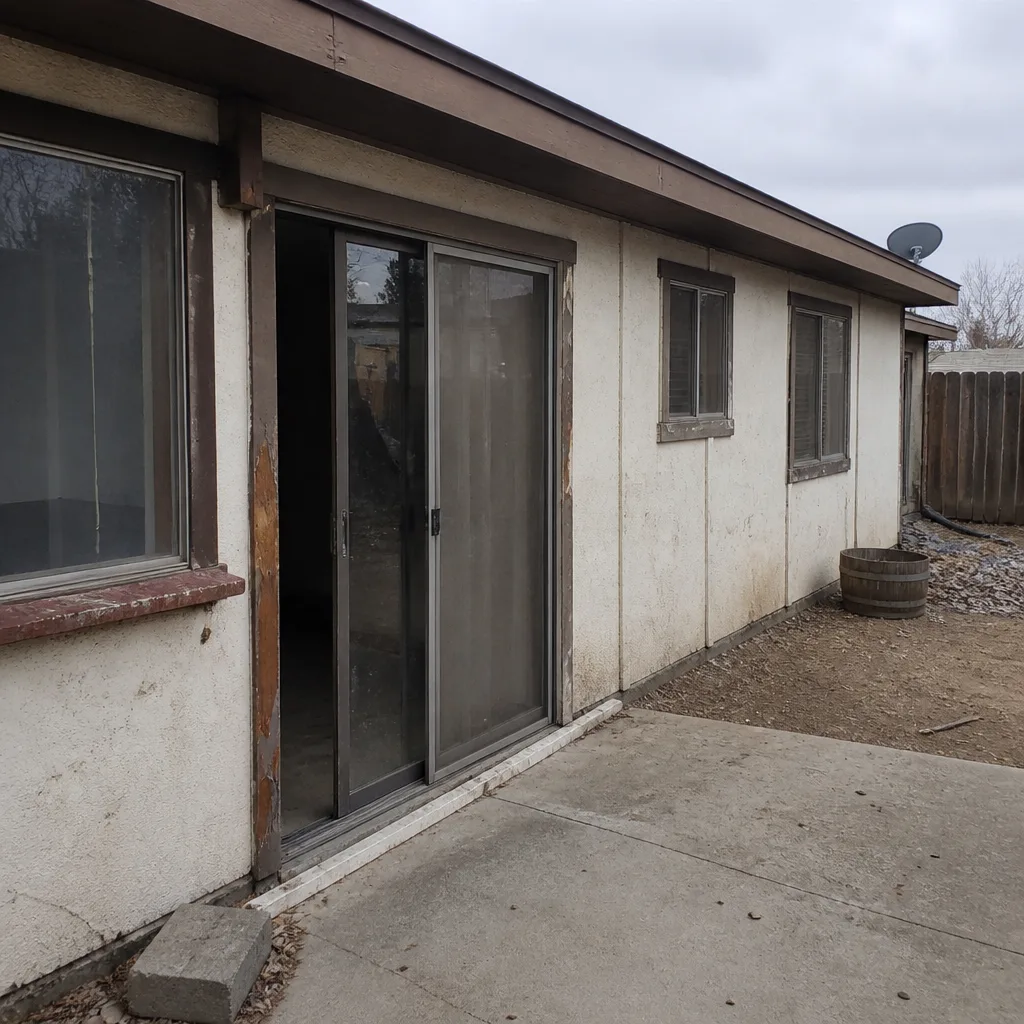 Before
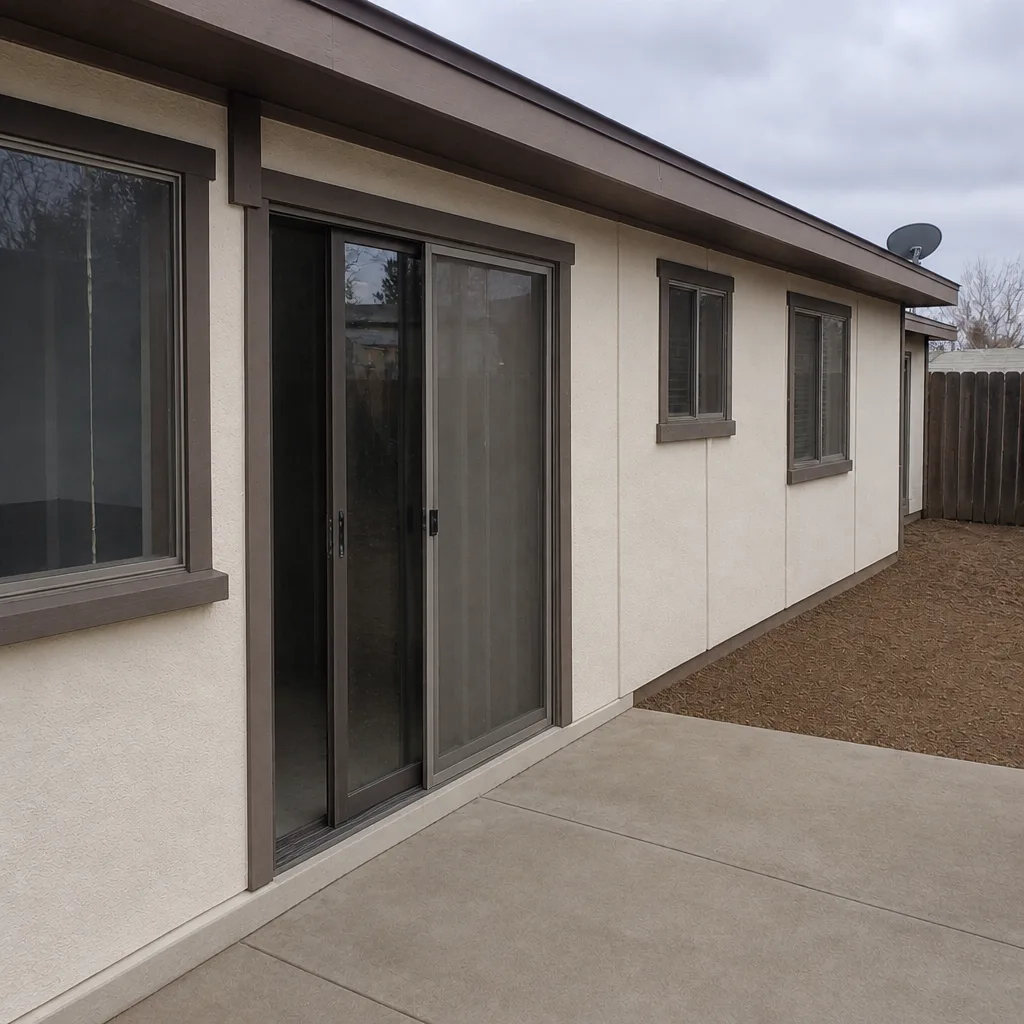 After
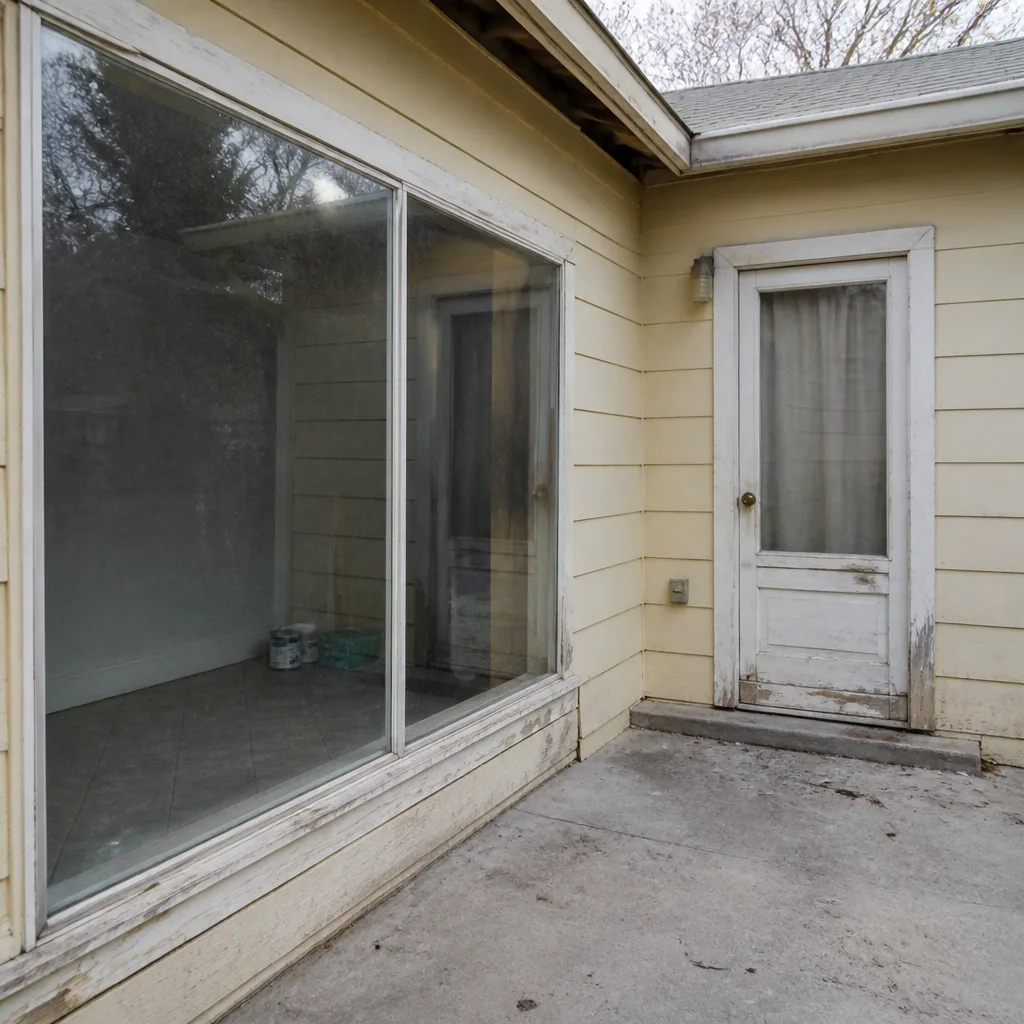 Before
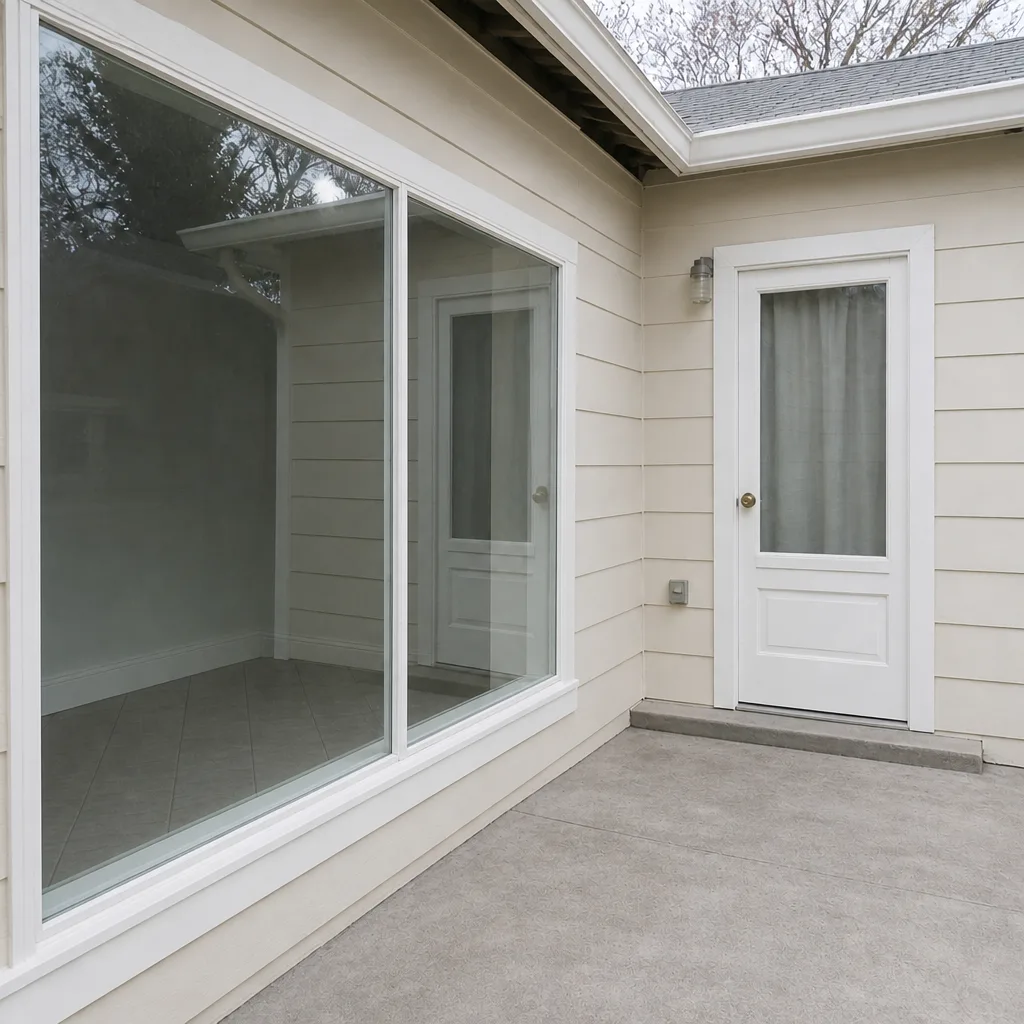 After
When to Call a Professional
Some things are homeowner checks and some things are professional calls. Bring in a pro when you see fogging between the panes, water staining on a frame or sill, a draft you can feel with the window closed, or hardware that’s broken rather than stiff. Bring one in when the window won’t stay closed against driving rain, when you have condensation on many windows at once, or when the windows are above the first floor and the inspection or caulk work would put you on a ladder.
Winchester Windows & Doors offers free estimates in Winchester. Call (844) 834-0211. We answer 24/7. Fast dispatch from 7am to 7pm, Sunday through Friday. We install only windows and doors, so your estimate is with people whose entire job is the two categories you’re asking about. For a general overview of what we do, see Winchester Windows & Doors.
Frequently Asked Questions
A failed seal shows as fog, haze, or water droplets between the panes that you can’t wipe off, usually most visible on a cool morning before the sun hits the glass. Room-side condensation that wipes away is normal desert humidity, not a seal failure. If the fog is between the panes, call (844) 834-0211 for an exact quote. Estimates are free.
Twice a year at a minimum: once in early summer before monsoon season and once in early fall after it. Add a quick hardware and weatherstripping check in spring and a lock check in winter. The climate here cycles hard between dry heat and monsoon rain, so the year splits naturally into two inspection points.
Not on its own. New caulk over a failed flashing joint seals water inside the wall and the leak returns with the next rain. Caulk and flashing are separate layers, and both have to be sound. If you have interior water staining, that’s already a flashing or caulk failure that needs a proper look. Call (844) 834-0211 to schedule a free assessment.
Sometimes. A fogged insulated glass unit can often be replaced without touching a sound frame and working hardware, and that’s usually the right answer for a single failing window. When the frame is out of square, the hardware is worn, or the whole house is fogging, a full window is the better decision. An in-person look settles it, and the estimate is free.
Photos of the problem taken in the morning, width and height measurements of the glass and frame, whether the measurement is inside or outside the frame, which side of the house the window faces, and a plain-language note of what you’re experiencing. That’s enough for the estimate to be accurate and for the estimate to match what gets installed.
Yes. We install windows and doors only, from eight manufacturer lines that include PGT, CGI, CWS, ViewLux, and Therma-Tru for fiberglass entry and patio doors. Because we’re not tied to a single manufacturer, the recommendation is driven by your home’s needs. Call (844) 834-0211. We answer 24/7, with fast dispatch from 7am to 7pm, Sunday through Friday. We’re closed Saturday.
The Bottom Line
Winchester windows don’t fail suddenly. They fail on a schedule set by heat, UV, dust and monsoon rain, and the first warning is usually visible 18 months before the window needs replacing. The parts that matter are the ones you can inspect: the seal between the panes, the weatherstripping, the caulk and flashing, and the hardware that moves every day. Run the checks twice a year, do the dollar bill test, and photograph anything you find. Those steps catch most problems while they’re still a repair. When the failure is already there, an estimate costs nothing and it settles the repair-versus-replace question faster than any online guide can. For a look at the neighborhoods we work in and where our coverage sits, see Winchester.
Written by the team at Winchester Windows & Doors.